Microsoft Single Sign On (SSO) Configuration
Overview
Microsoft Entra OpenID Connect SSO is a cloud service that provides administrators with the ability to manage end user identities and access privileges.
Enabling Microsoft Entra ID SSO
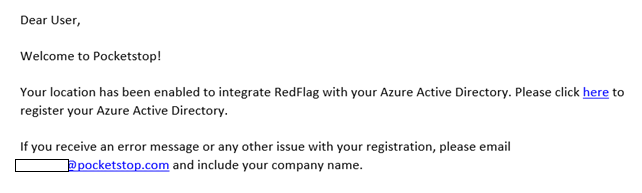
To use Microsoft Entra ID SSO with RedFlag, we would just need to turn on Microsoft Entra ID SSO for your account in the backend of RedFlag. Once Microsoft Entra ID SSO has been enabled, RedFlag will send your Microsoft 365 administrator a registration invitation email.
IMPORTANT: Consent must be given by your Microsoft 365 admin.
Microsoft Entra ID SSO Registration, Authorization & Consent
Your Microsoft 365 administrator will receive a registration email from RedFlag. If they are not the appropriate person to grant consent, they can forward the email to the appropriate Microsoft 365 administrator.
App Permissions Required
To enable Single Sign-On (SSO) with RedFlag through Azure (Entra ID), the following permission is required:
- Permission: User.Read
- Type: Delegated
- Reason: Enables user sign-on and allows RedFlag to read the user’s profile. This is required to pull the tenantId and provision the user just-in-time when logging in through SSO.
Microsoft 365 administrator steps
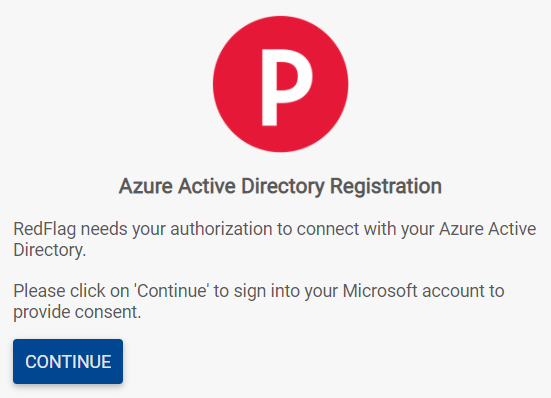
- Click on the provided link in the email to initiate the registration workflow.
- Click ‘Continue’ on the registration screen.
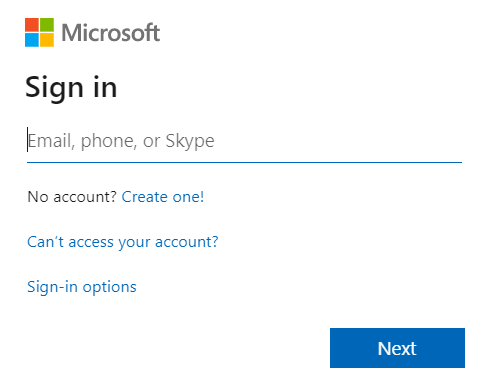
- Admin will be redirected to the Microsoft Entra ID sign in page for authentication. Authenticate using the Microsoft 365 administrator credentials.
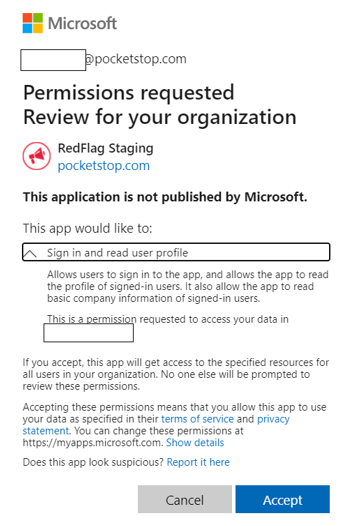
Note: This page belongs to Microsoft. RedFlag does not have access to credentials entered here. At no point in workflow does RedFlag access information regarding user credentials. - Upon successful login, admin will get a consent screen. Please read through the details to make sure what access RedFlag is requesting from your Microsoft Entra ID.
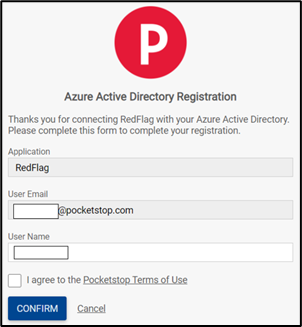
Click on accept to complete the registration. Click cancel to terminate. - After getting the required consent, the admin will be redirected to the RedFlag application to complete the registration. Please verify information and click on confirm to complete registration.
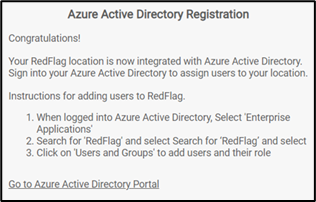
- Registration is successfully complete. You can now manage users and their access level for RedFlag in Microsoft Entra ID. The link to portal (https://portal.azure.com) is provided in the screen with instructions.
RedFlag User Roles
User Roles: Each User Role has a different level of access to RedFlag features and functions. The “User Roles” table in this section provides detailed permissions by User Role. The following user roles are available within Microsoft Entra ID.
- Account Administrator (only available if user has access to multiple RedFlag locations)
- Super Administrator (highest role type – will need at least one super admin setup in Microsoft Entra ID)
- Administrator
- Editor
- IT Administrator
The “Role Permissions” widow below displays the permissions by User Role: Account Admin, Super Admin, Admin, IT Admin, Editor. See Users Role and Permissions >>
Assigning RedFlag Users in Microsoft Entra ID
User assignment must be completed by your Microsoft 365 administrator.
Microsoft 365 administrator steps:
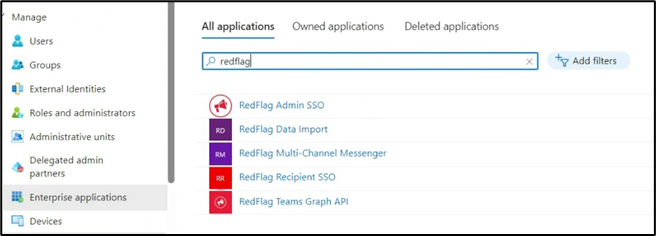
- In Microsoft Entra ID (https://portal.azure.com), click on Enterprise Applications in the left nav. Search for RedFlag Admin SSO.
- Once RedFlag Admin SSO has been selected, click on Assign Users and Groups.
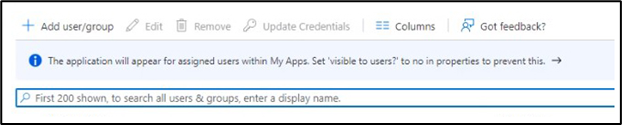
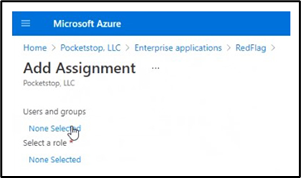
- Click on Add user/group.
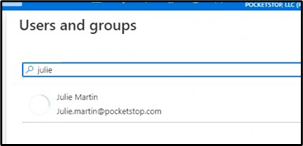
- Search for username and select user.
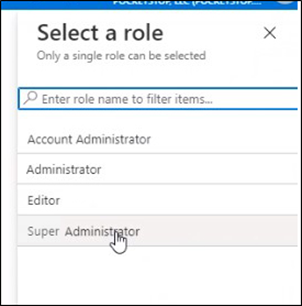
- Select the role type. At least one user must be a ‘Super Administrator’ as that is the highest role type for a single location.
- And Assign the role type.


SSO User Login to RedFlag
After the users have been setup, the first time they login to RedFlag, they’ll need to login under their Microsoft Office account.
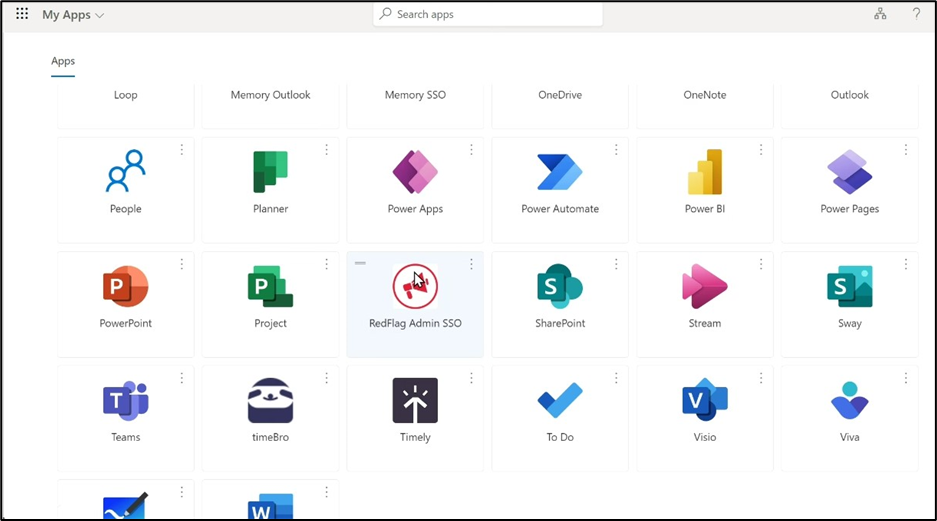
To do so, the user will need to go to https://myapps.microsoft.com, and search for RedFlag Admin SSO.
When they click on the RedFlag app, it should log them directly in. After they have logged in for the first time through Microsoft, they can then log in at https://portal.pocketstop.com moving forward.
If user receives an error message when logging in the first time, they will need to ensure their user/admin type is either Super Admin, Admin, IT Admin or Editor. If they are set up as Default Admin, they will receive an error message when logging in.